  David Hockney is an english painter,draughtsman,printmaker,stage designer and photographer. He was born on July 9, 1937 , Bradfford, United Kingdom. His photograph and paintings emulate what we are doing in class because when I look at his artwork its very different from what you would regularly see around and the way were formatting the picture can relate to his theme he's trying to portray.
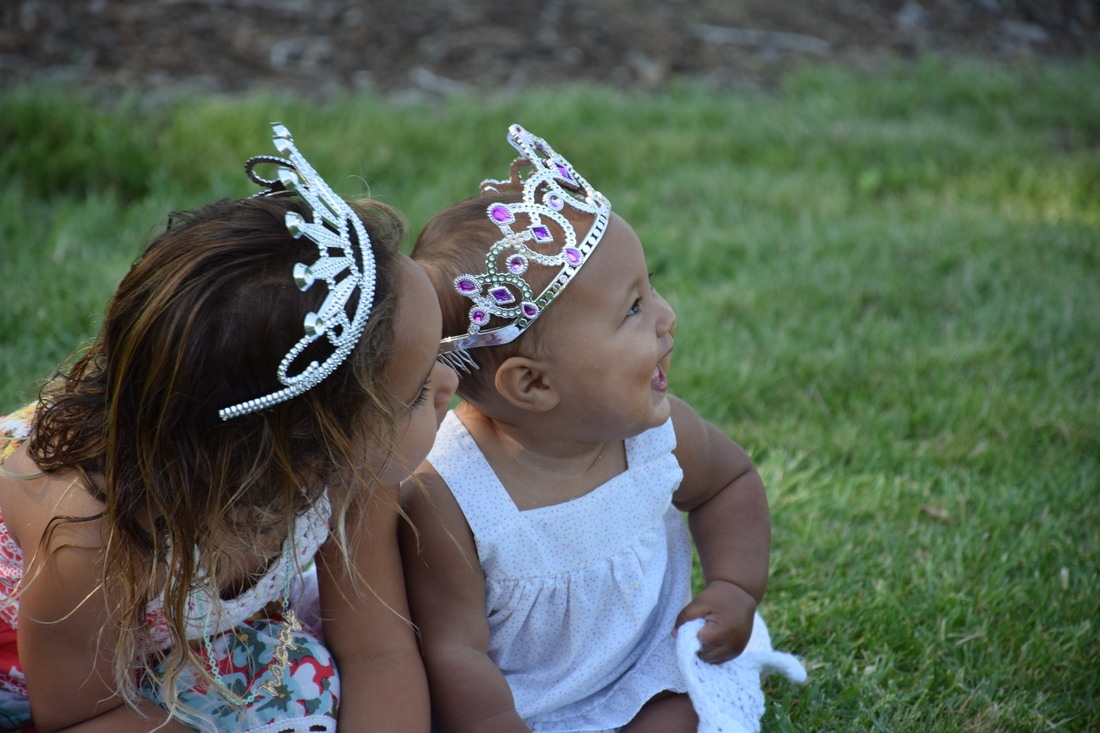
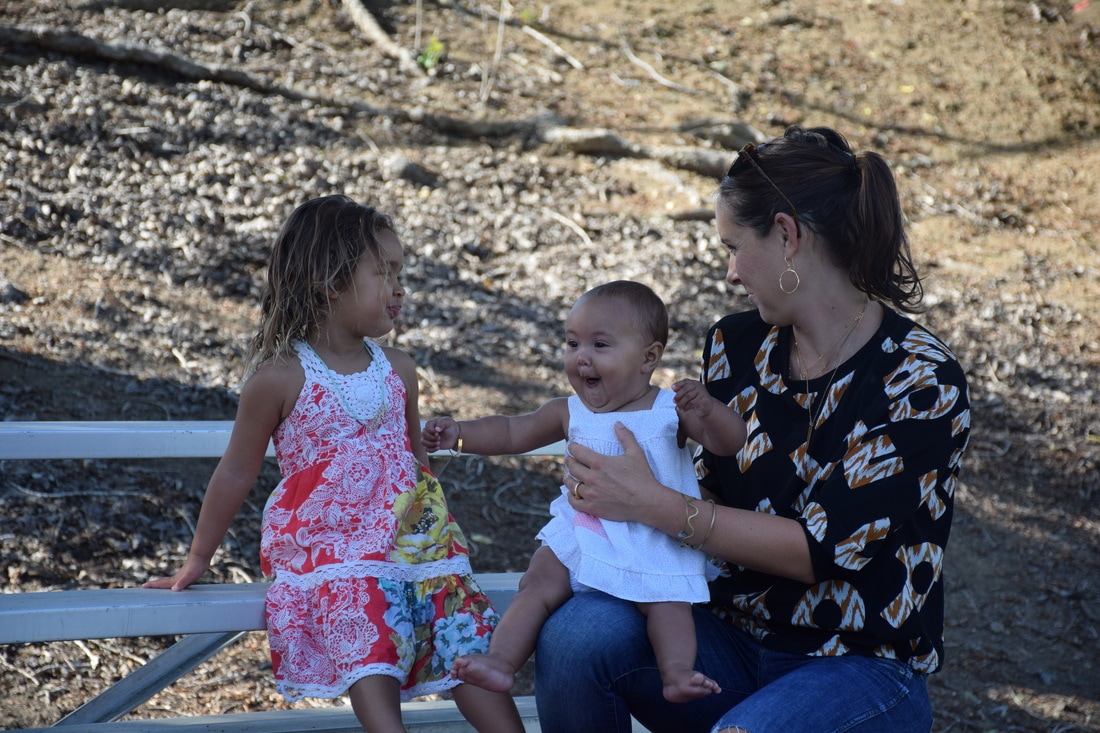
What I did to make this photograph the way it is was I first went into photoshop and before I did that I picked a couple of photos that I wanted to use and then I dragged the main photograph that I used to the center because I wanted that to be the main photo. After, that I just dragged the other photos onto the main photo and I was just messing around with it and I came up with this. It wasnt hard at all it was very easy and fun to do!
0 Comments
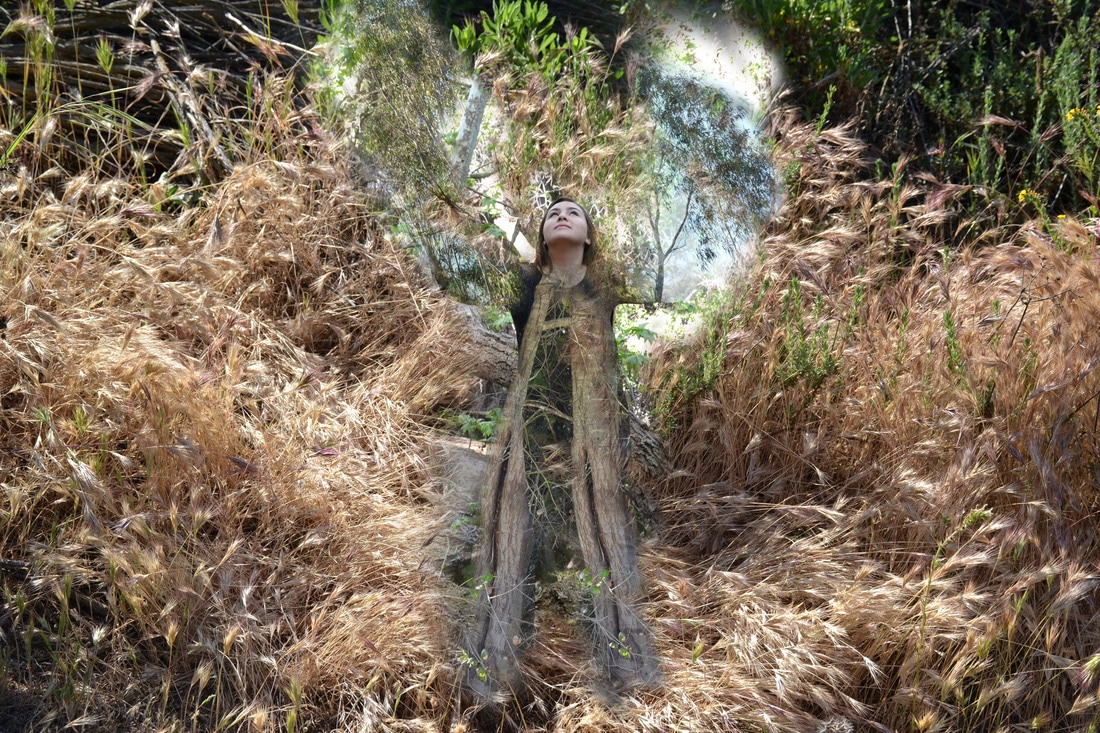
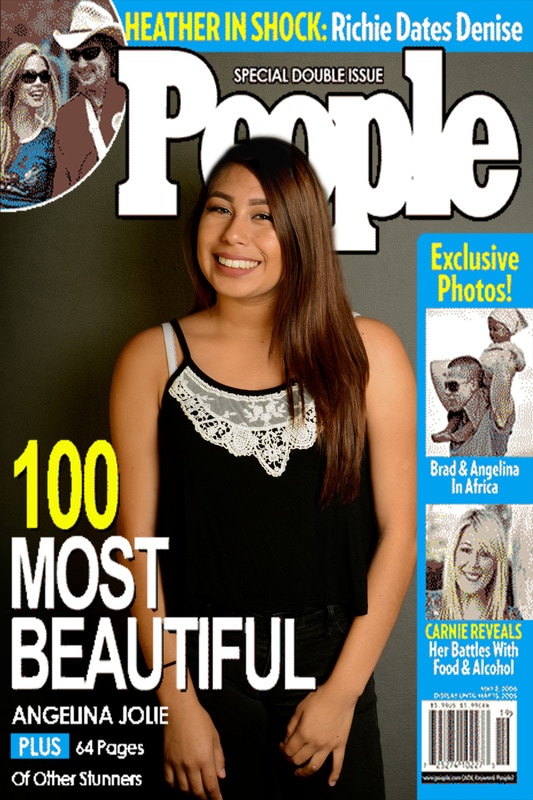 I used this magazine because People Magazine just talks about celebrities celebrities and interesting stories. What I did to emulate this magazine cover was I went into photoshop and i cropped my photography and them I put the template that I choose over the photograph and placed it into the right position. After that I added a layer mask onto the template section the I turned down the resolution to about 53% and clicked the paint brush tool and started shading away the area on the top where it says people to make it look like the letter is behind her head instead of in front.
I did not use any fronts because I used a template so it came with everything on their already.How I took my photograph was by using the set up we had in our classroom. So what we basically used was a back drop ,studio lighting, and a reflector. All of those things that I used are what made this photograph really bright and different. I also used a filter which was called Boost , so that gave this photograph more brightness and color."A strobe light or stroboscopic lamp, commonly called a strobe, is a device used to produce regular flashes of light. It is one of a number of devices that can be used as a stroboscope. The word originated from the Greek strobos, meaning "act of whirling." So basically what this means once you take a photograph it gives the photo more light and it just comes out more differently. "They separate a continuous light from a modeling light and the purpose is defined as well. "Keep in mind the AlienBees have a modeling light that you can keep on constantly, but this not a true, continuous light. The modeling light on the flash unit is used for previewing where the light is falling on your subject." So basically what this does is more define and makes the photograph just look so much better. "A soft box is a type of photographic lighting device, one of a number of photographic soft light devices. All the various soft light types create even and diffused light by directing light through some diffusing material, or by "bouncing" light off a second surface to diffuse the light." The Soft Box basically directs the like where it is supposed to be and gives off a soft light and bounces off the object you're photographing. "In photography and cinematography, a reflector is an improvised or specialised reflective surface used to redirect light towards a given subject or scene." A reflector is used to direct light and use natural light to reflect off the reflector onto the object or person you are taking a photograph off."A gray card is a middle gray reference, typically used together with a reflective light meter, as a way to produce consistent image exposure and/or color in film andphotography. A gray card is a flat object of a neutral graycolor that derives from a flat reflectance spectrum." A gray card is used to balance color. "Flash triggers are devices that relay a signal from your digital SLR camera to the flash unit, telling it to fire."-http://www.digital-slr-guide.com/flash-triggers.html. " This basically tells the light to flash. 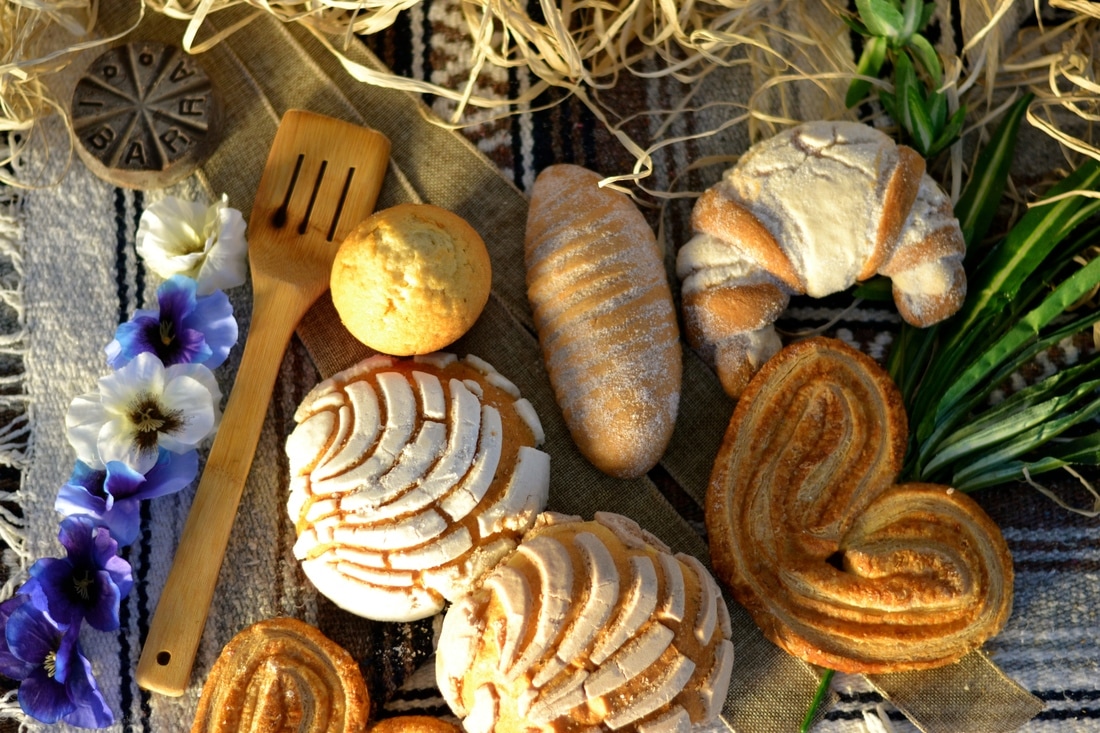 International Bread
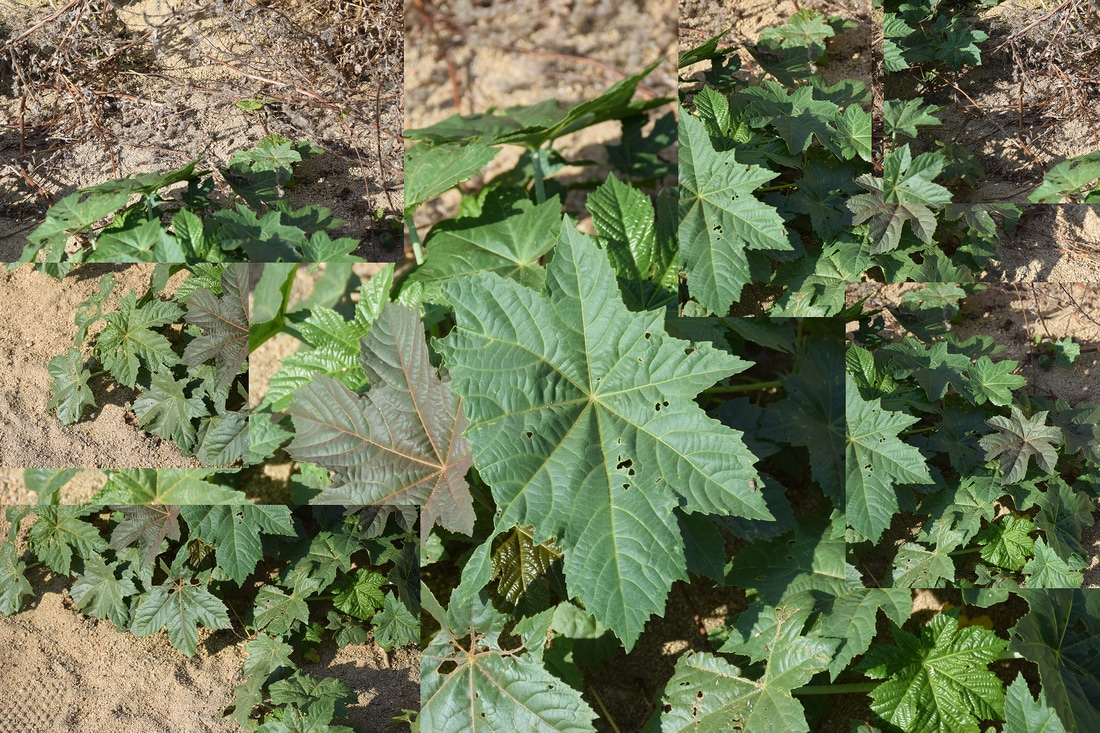
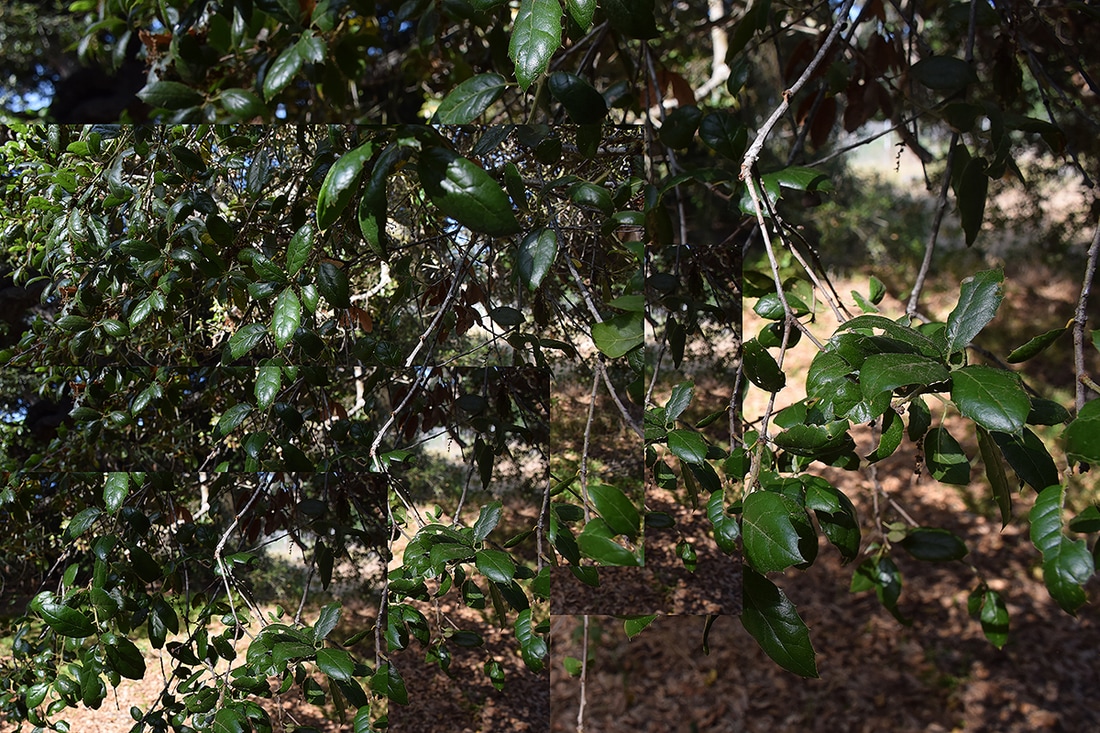
This piece can be meant differently to a lot of different people. Some people will look at this photography and know exactly what it is, what it smells like, what it taste like, and where it comes from and where it’s made. But some don’t. So what I’m trying to portray in this photograph is to give enough detail and the right lighting to know what it is visual wise. What you see in this photograph exactly is what we call Mexican Bread. It is very delicious made early in the morning fresh everyday. Also drank with coffee or hot chocolate. Every single piece of this bread has something unique to it there are chocolate, plan , ones with sugar, jelly filled ones, and many more. This photograph was taken here at my school Rancho Buena Vista High school in the quad. I decided to use framing because for this photograph I had to have everything perfectly laid out and make this photograph just right. I didn’t do anything in photo shop because I wanted to make this photograph natural as possible. I changed the lighting and exposure and left everything the same. If I were to use photo shop I would use Adobe photo shop CC 2015. The camera that I used for this was the Nikon D5300/18-140mm lens .The division I picked to enter was Color because I felt as if I capture color really good in this photograph and the lighting that I used really helped the colors expose and be more vibrant. 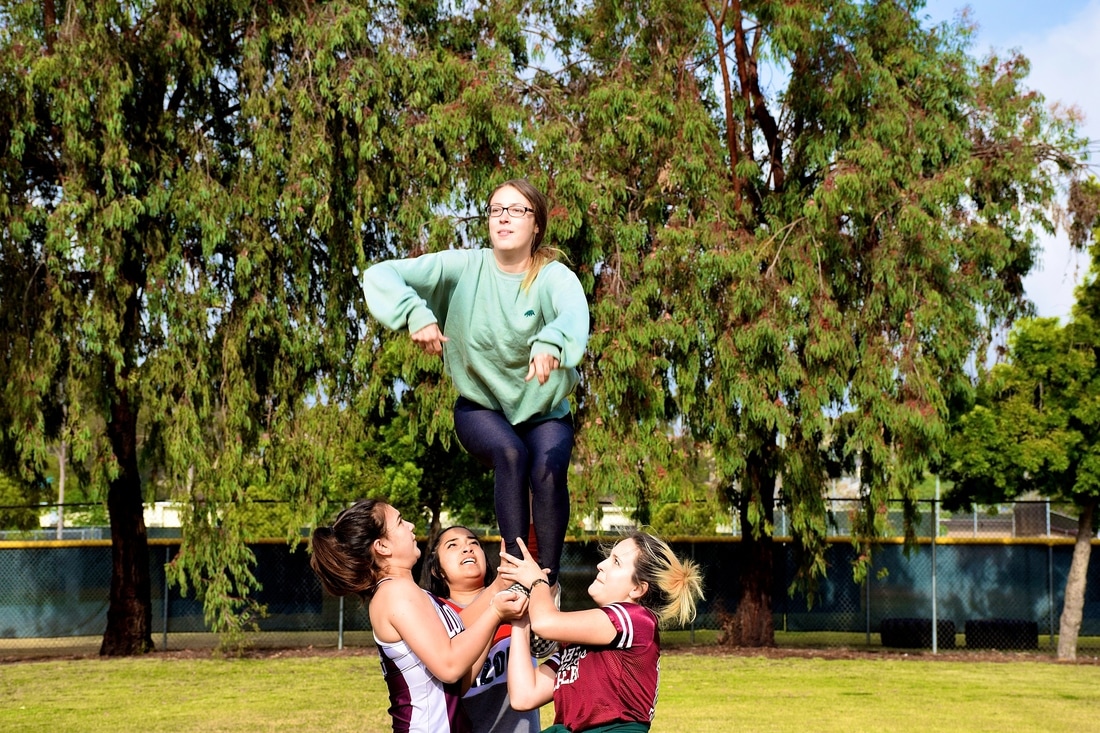 Aperature f/9.5, Shutter Speed 1/750,ISO 400 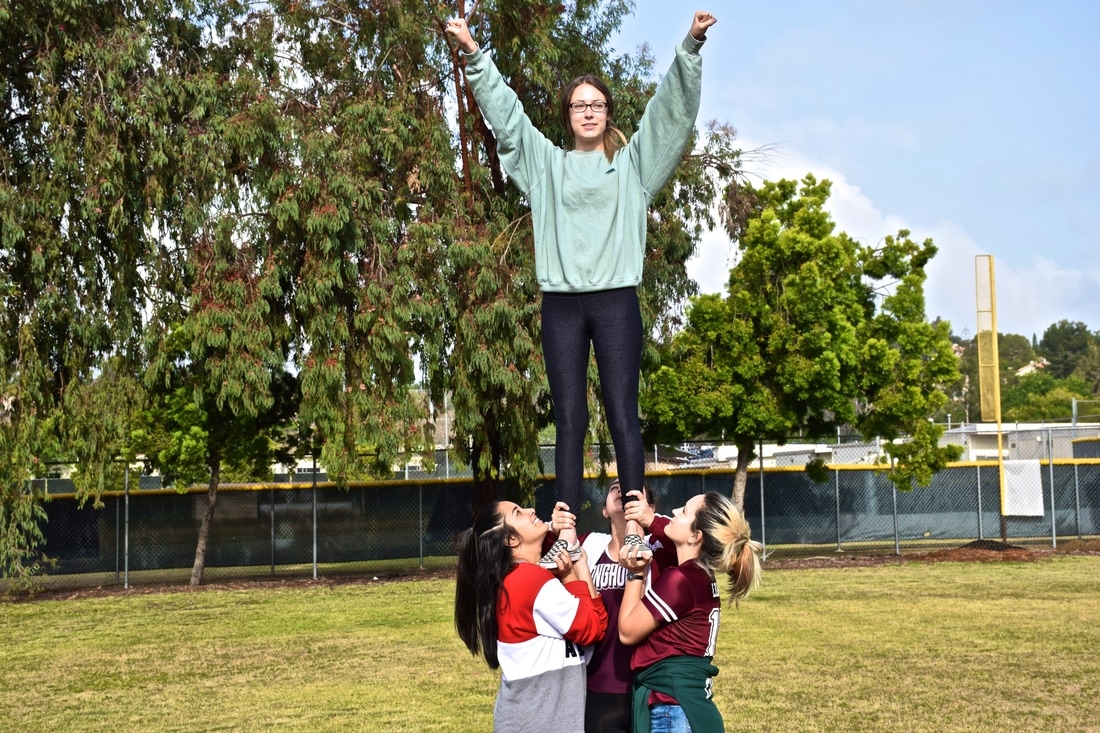 Aperature f/9.5, Shutter Speed 1/750, ISO 400  Aperature f/5.3, Shutter Speed 1/750, ISO 400  Aperature f/9.5, Shutter Speed 1/750, ISO 400 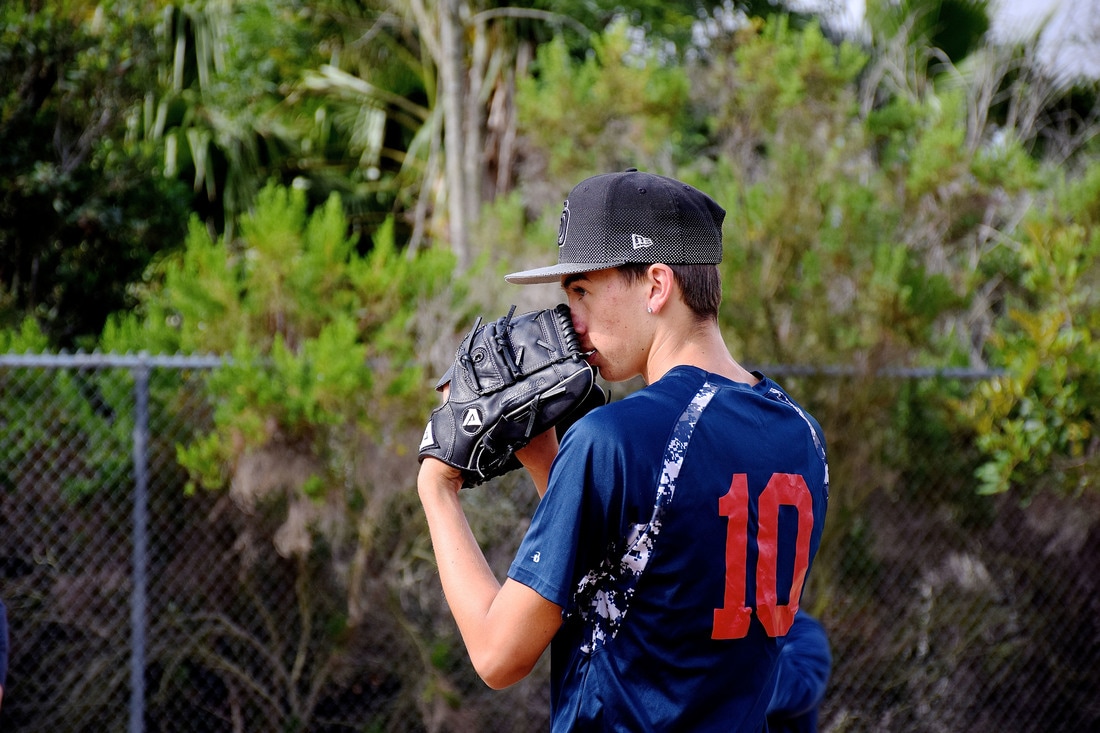 Aperture f/5.6,Shutter Speed 1/750, ISO 400  Aperature f/8 , Shutter Speed 1/750, ISO 400 In my opinion a Mandala means something that is repeated or duplicated severally times, one picture that you can use to make a more amazing picture than it already was. How I created this Mandala was by using the template that Mrs. Moncure provided for us and then once I did that I selected the picture I wanted. Once I did that I used the magic wand and selected the area that I wanted to use once I did that I moved that area onto the template. Then I duplicate the area over and over again , until it was where it needed to be . It was pretty easy but it was hard to aline the photos together. I liked how you can make use one image and make it better , very interesting. 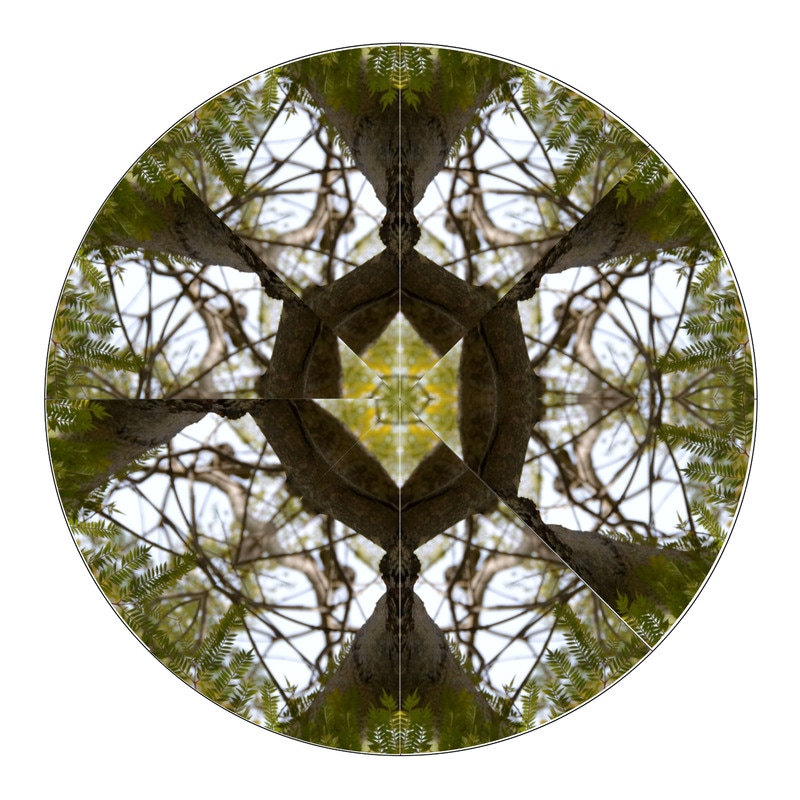  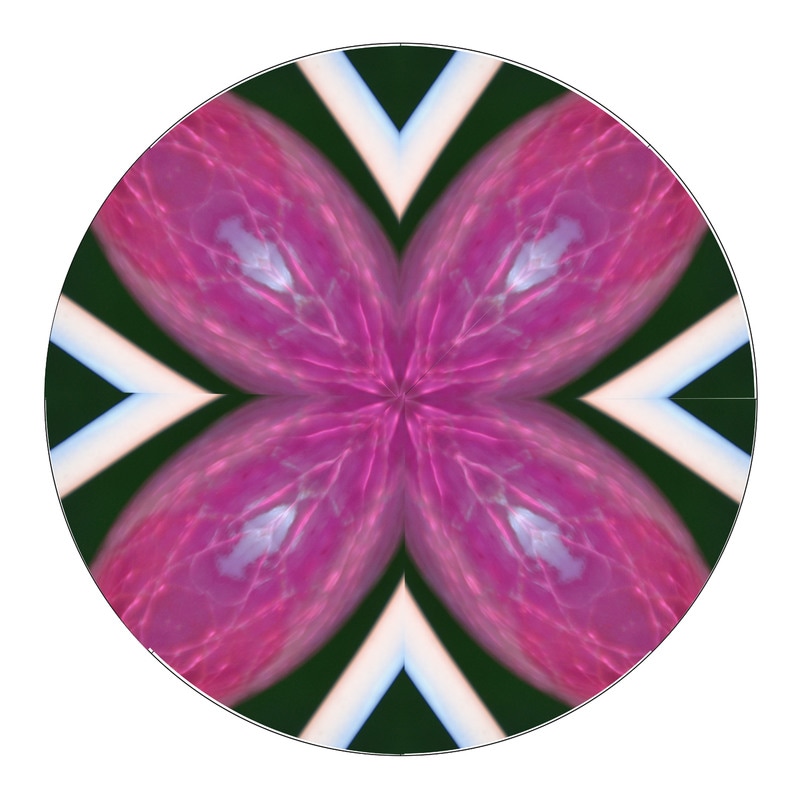 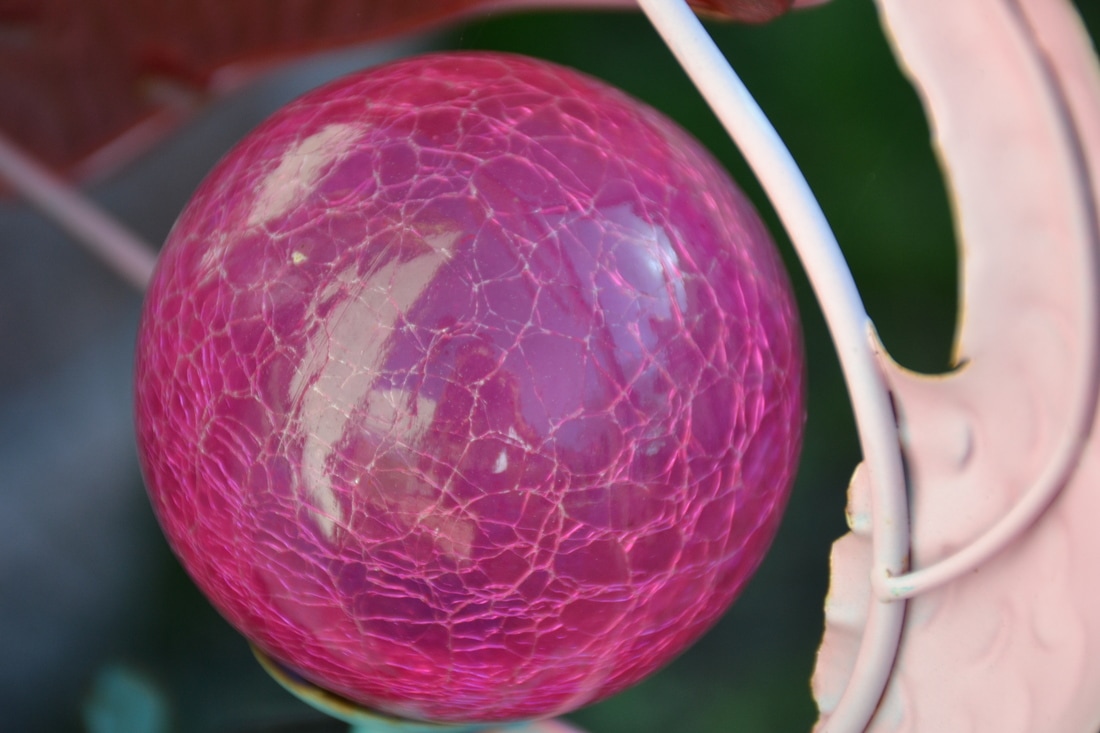 The word "Tessellation" to me means to come together to make one. As if you can take one photography , emulate it more than once and then make it into one beautiful photo. What I did to create these tessellations was first I clicked on new and open new guide lines which took me too horizontal and vertical ,so I entered 2,4,6 down and across. Once those guide lines were set up I got my picture that I was going to use for my project and I cropped the area that I wanted to use. After I did that I checked it for conformation. I change the image size to 2" inches . Once I did that I dragged the picture to the side and clicked on the move tool and moved to my guide lines. Then I copied the layer as many times as I wanted to get all the images to complete it. After that I cleared the guidelines just to make sure it was all lined up correctly, then I merged the layer and saved it. I liked doing this project it was really interesting but very time consuming .If I had to do this project all over again I think that I would plan it out to have more time because like I said it was very time consuming.
|

 RSS Feed
